Visualizing Orthophotos in 3D using ArcScene
This page explains how to drap orthorectified airphotos onto digital elevation data in order to get a simulated view of the real landscape. Other pages describe how to interpret (draw lines) on the photos and see the lines in 3D. The general task of visualizing orthophotos is not difficult, but there a couple of settings that will make the viewing better, faster and more useful.
This description uses USGS orthophotos and digital elevation data. Thus some of the description is unique to this data.
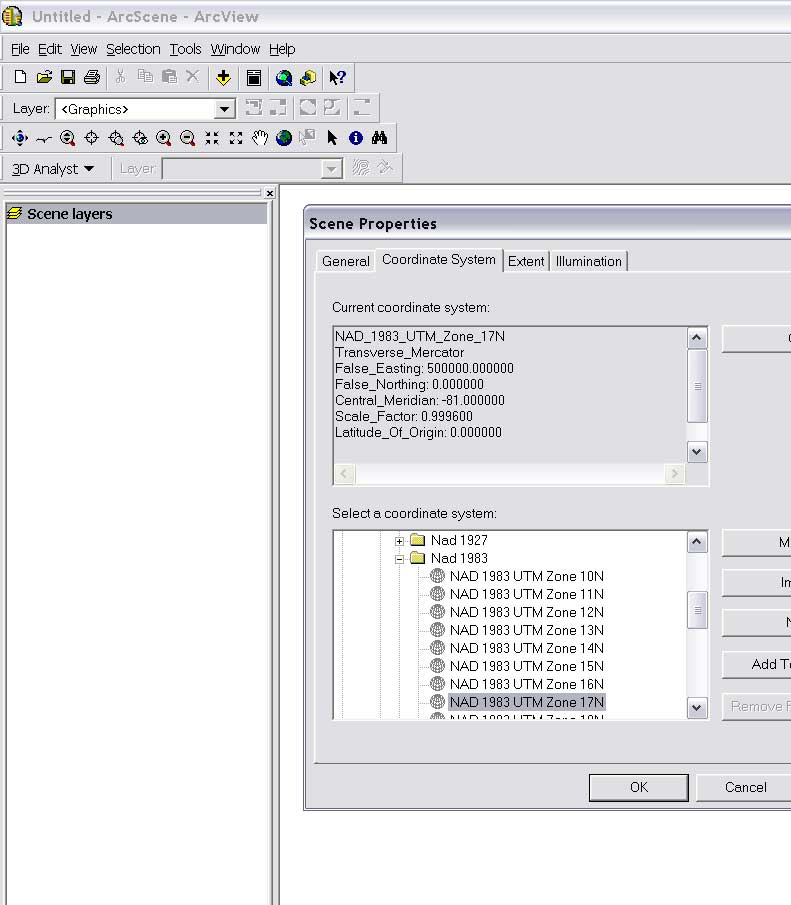
1. Open ArcScene and set the projection by doubleclicking the "Scene layers" item. Click on the "Coordinate System" tab and then find the folder "Predefined>Projected>UTM>NAD1983". USGS orthophotos are in UTM NAD83 with a particular zone. In the Lexington area this is zone 17N.

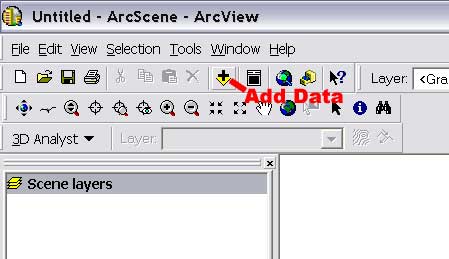
2. Add an orthophoto by clicking the plus symbol at the top and selecting the photo you want.
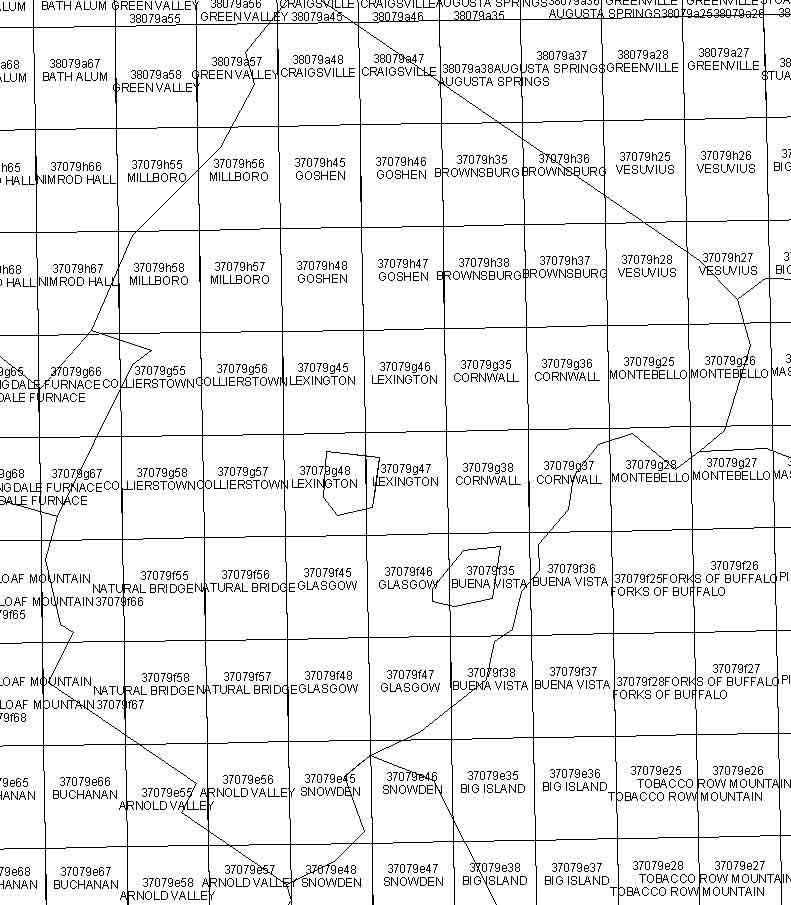
The naming of USGS orthophotos is logical, if byzantine, thus you need to know the USGS file name for the quad of interest. For the Lexington area you can get the order of the listing from the image below. If you go to R:\VA_data\orthophotos you should be able to find the name of the file you want.
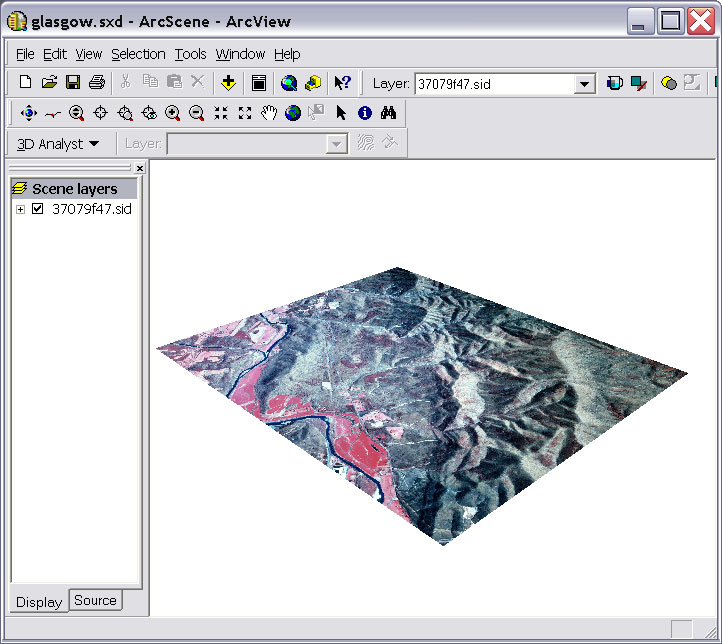
After you have loaded a file, in this case the Glasgow SE, 37079f47, it should look like this:
3.. Set the elevation by doubleclicking the file name on the left column, in this case "37079f47.sid", and clicking the "Base Heights" tab and then selecting "Obtain heights for layer from surface", and choosing the file you want. Files can be a digital elevation model (an ARCGRID file) or digital elevation surface (an arc TIN file). If you have a TIN this is better as it is more compact, uses less memory and all of the elevation data is used, but TIN's don't work over very large areas (they too end up being to big). If you go to R:\NED\3738_7980 you should find an ARCGRID that will work as this covers from 37 to 38 N lat and 79 80 W lon. If you set it right, then you should now have a scene like this:
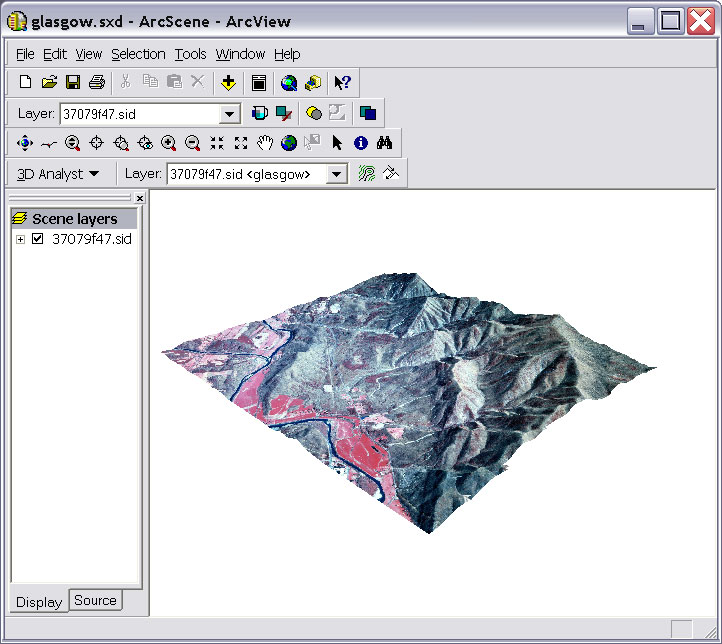
4. To move around press and hold the left mouse button, to pan use the middle button, to zoom the right button.
5. To change the displayed quality doubleclick the file name on the left column, and clicking the "Rendering" tab and then adjust "Quality enhancement for raster images". Note that while this will improve the quality that you see, it will slow down the computer and eventually (with enough photos or high rendering of just a few) the scene will no longer be interactive.
6. If you are using an ARCGRID, you can also change the quality of the digital elevation model. You do this by doubleclicking the file name on the left column, and clicking the "Base Heights" tab and then selecting the "Raster Resolution" button. Change the cell size to whatever you size you want an individual elevation value to cover.
Chris Connors, June 2005.